|
EzyChart Versions 4 or less work seamlessly with our Bodhi Freeway 3 EzyChart format. If you are using a version of EzyChart between the versions 4.02 to 5.0.106, please refer to these instructions. If you are using EzyChart 6 or above you will need to purchase a BodhiGold subscription as Bodhi Freeway 3 is not compatible with this version.
These instructions will take you through three processes:
- Configuring Bodhi Freeway 3 to use the EzyChart data format.
- Configuring EzyChart to read the Bodhi Freeway 3 EzyChart directories.
- Opening a chart in EzyChart.
Configure Bodhi Freeway 3 for EzyChart
- Start Bodhi Freeway 3, by selecting the following from your Microsoft® Windows Start menu: Start > Programs > Infosoft > Bodhi3 > Freeway
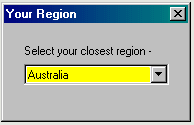
- Select your closest Region from the drop-down box, then click [x].
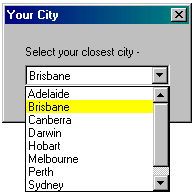
- Select your Nearest city from the drop-down box, then click [x].
- Select your Charting Software - EzyChart from the drop-down box, then click [x]. This automatically chooses the EzyChart (.pce) format.
- A dialog box will appear explaining how Bodhi Freeway 3 has been setup. This box includes information on your location, data selection, charting software and database directories. Take note of this information.
- Click OK. The registration screen will appear. Before you can download data you will need to email us the Installation Code. You will then be given your personalised registration User and Code. Exit the screen by clicking the [x].
- Click the Configure button.
- The following instructions will show you how to fetch up to 6-months historical data:
- Click on the + next to Australia.
- Click on the + next to Australian Stock Exchange.
- Click on Equity.
- Put the Imported and Exported dates back 6-months.
- Exit the Product Manager list.
- Exit the Module Manager screen.
- Connect to the Internet then click the Catchup button. Bodhi Freeway 3 will now download and export the last 6-months of data to your hard drive (c:\My Databases\EzyChart\ASX).
Congratulations, you have successfully configured Bodhi Freeway 3 and imported 6-months of data into a EzyChart (.pce) format. From now on, you will only need to press the Catchup button in Bodhi Freeway 3 each night to retrieve the latest data.
Configuring EzyChart to read the Bodhi Freeway 3 EzyChart directories
NB. These instructions and illustrations were written and captured using EzyChart Version 3.01.
- Open EzyChart.
- Go to Edit>Configure EzyChart.
- In the Directories tab, change the Default Data Folder so it reads:
c:\My Databases\EzyChart\ASX. The 'My Databases' part of this directory may need to be written as an 8 letter word: MyData~1 before it will work (refer to the graphic below).
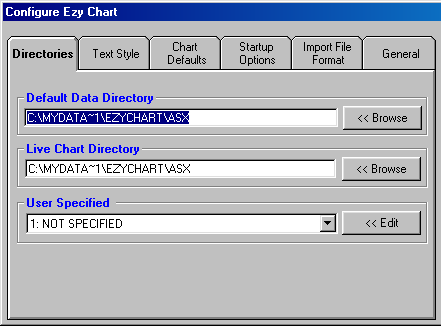
- Click the Finished button. For this setting to take effect, you must close out of EzyChart completely then reopen it.
Opening a chart in EzyChart
- Open EzyChart.
- Go to File>Open File....
- The Open File dialog box will appear. If you have configured EzyChart correctly, it should automatically open in your default directory and display all available exchange codes (i.e. AAI.PCE) in the left-hand box.
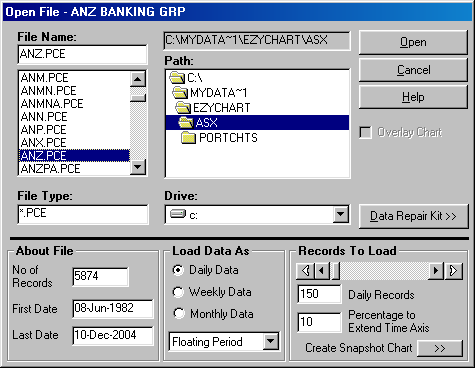
- Either enter a chart to view in the File Name: box or use the scroll bar below to scroll through the list then select one with your mouse.
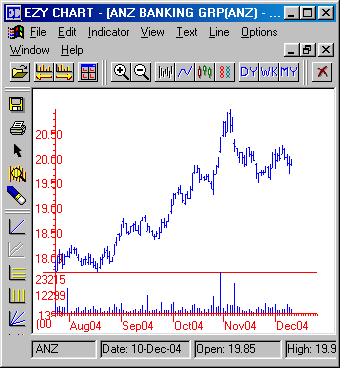
- To open the chart, click the Open button. Your chart will now be displayed.
|

